| |
| A day-to-day strive |
|
Monday, Apr 18, 2022
Master bath vanity demo
|
 | ||||||
  |

Be sure to hammer flat any nails or staples. You will be the person stuck by them.
. 
A drill to remove the doors and a hammer to break apart the drawers.

Stacked and ready for the dump.
|
|
| |

I saved the towel holder, and the plate for the high-flow shower valve. I is worth money.
. 
Sure I wear safety glasses, but also hearing muff so the pounding doesn't give tinnitus.

Be sure to turn off the water.
|
|
| |

The inside the drains were pretty grody. There were 20 Q-tips in one trap.

A Crescent wrench gets the water lines loose.

Channellock pliers get the big nuts off the drain popes. These only need to be hand-tightened if installed properly..
|
|
| |

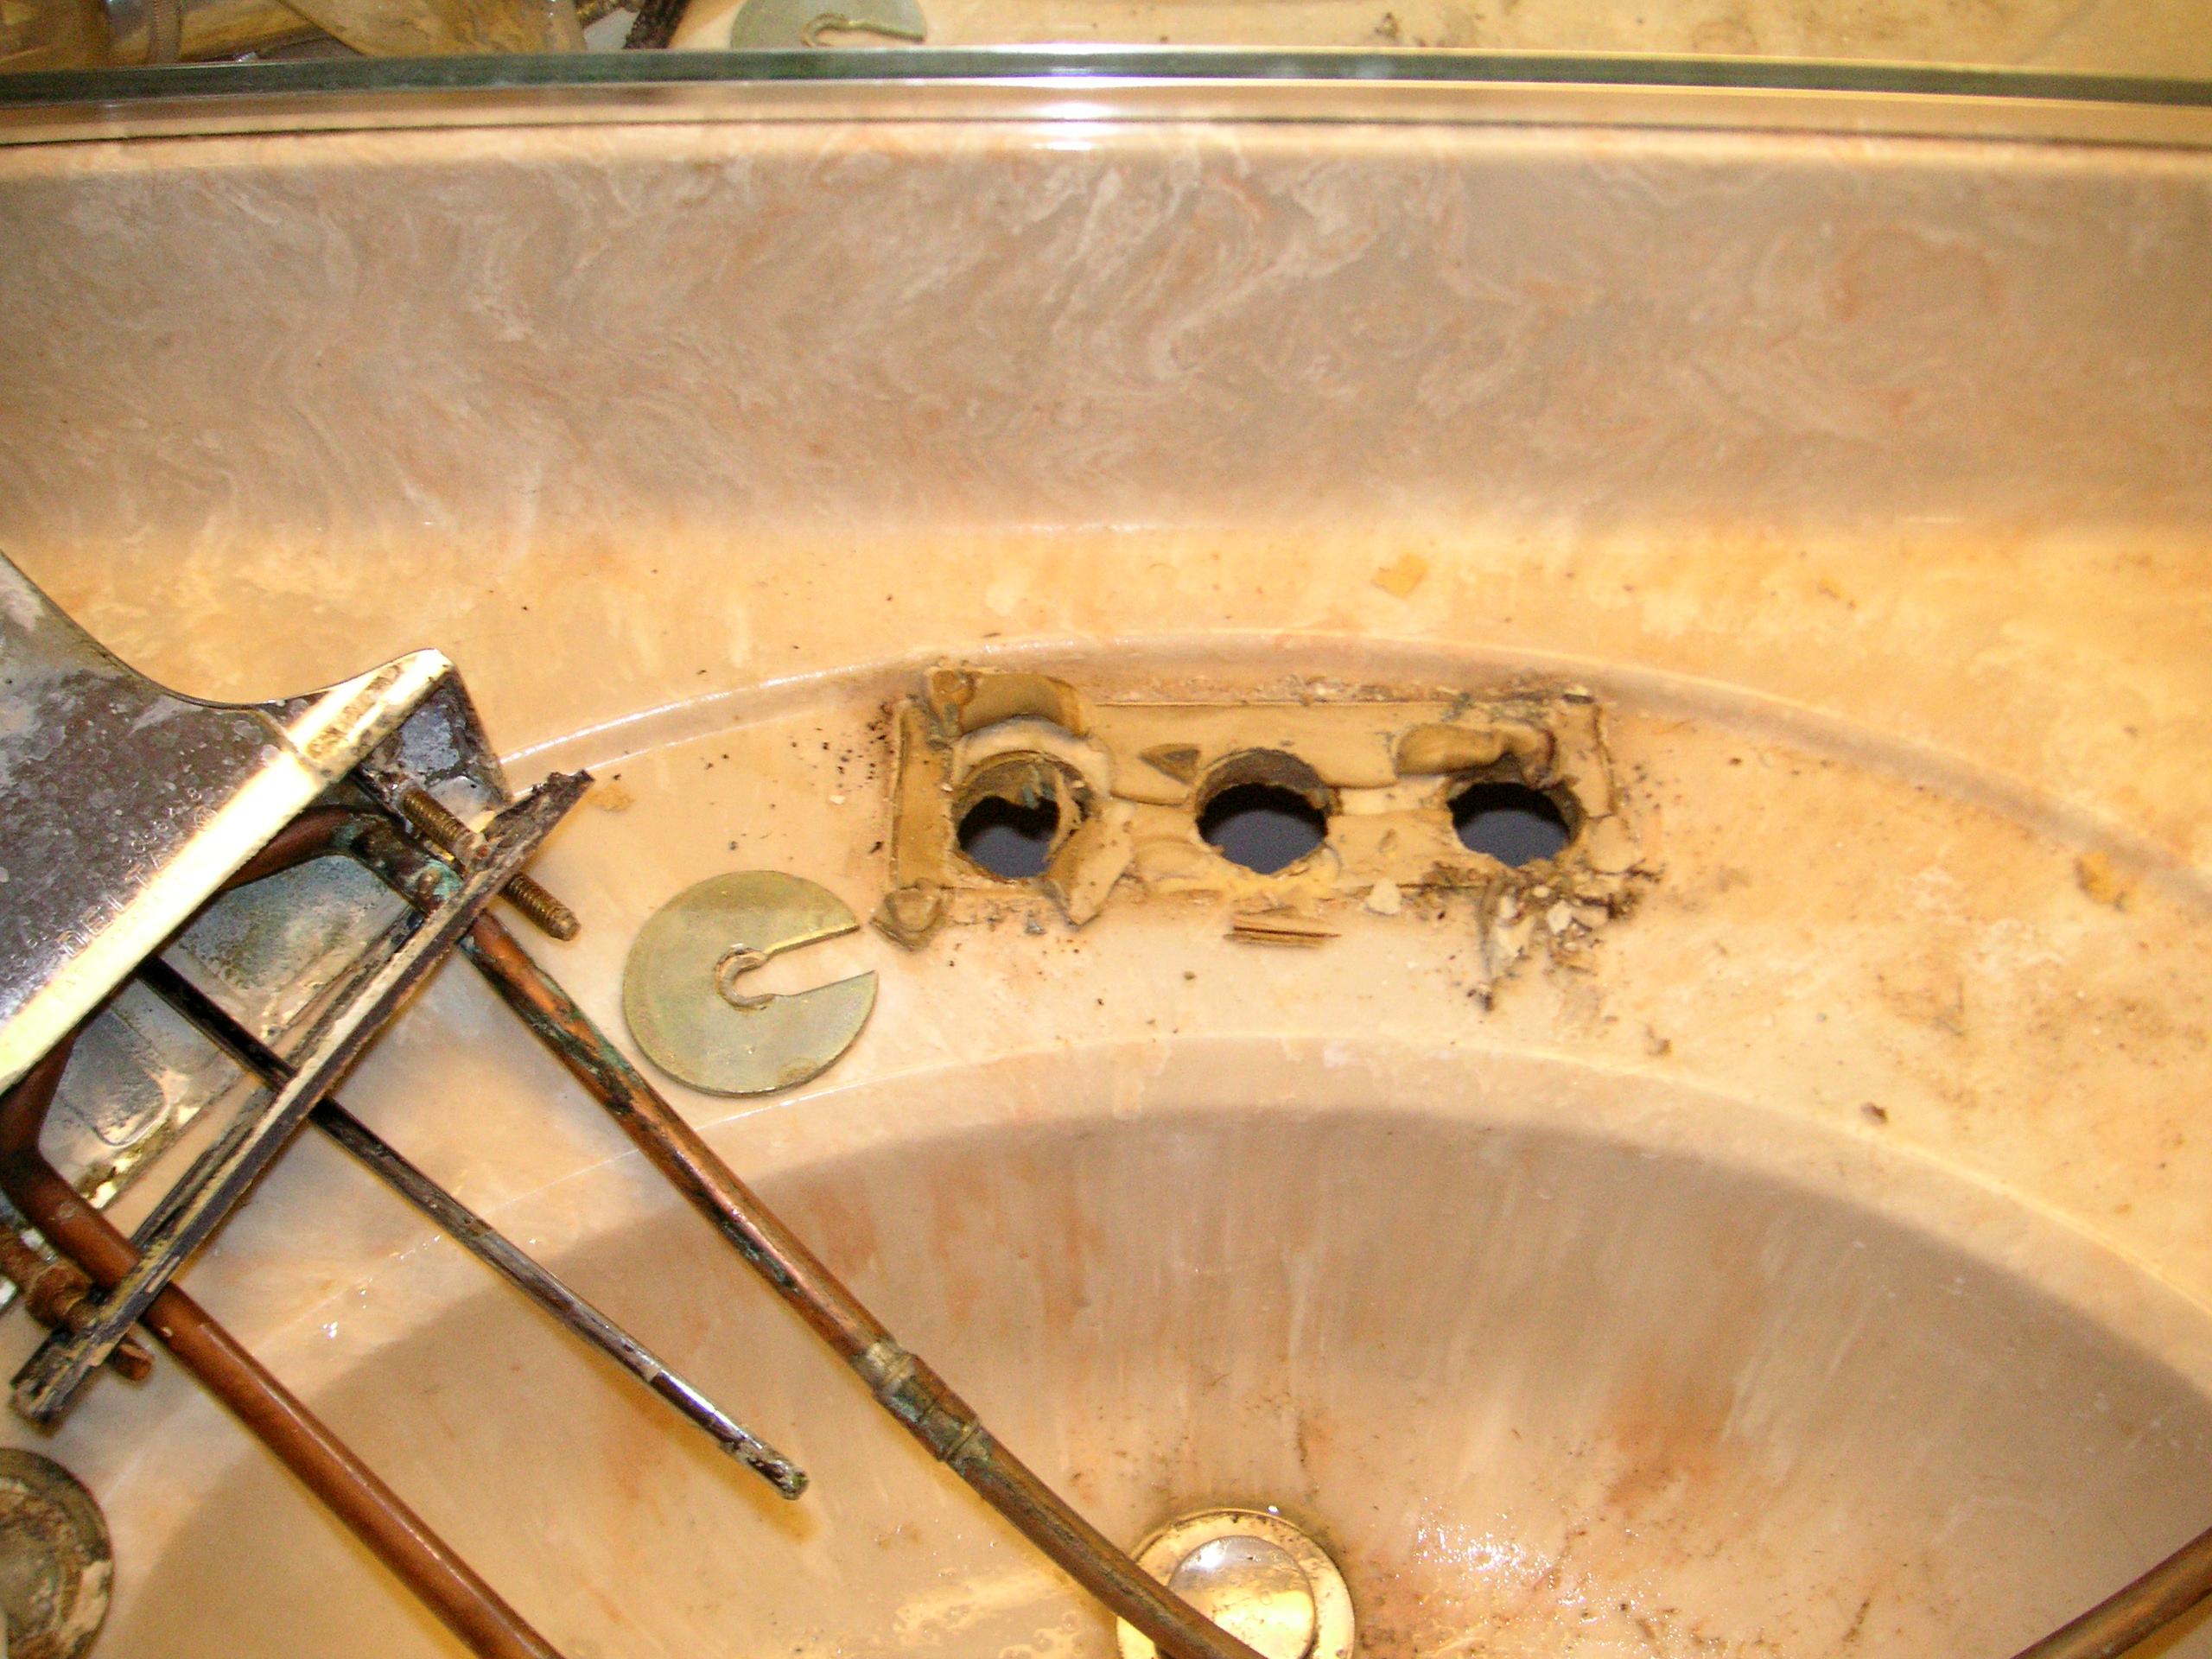
I popped the water pipes loose, and removed the drain. Pipes will come up with faucet.
. 
The faucets are held with big washers and a nut.
. 
Nut-drivers worked perfectly to get them out.
|
|
| |

The old Delta faucet does not have fittings. It has 8" copper pigtails you solder to.

After buzzing my Philips drill, I realized the vanity was held in with square-head screws..

The installed drilled at an angle so I needed a universal to get the proper angle on the screw.
|
|
| |

You know how you hate laying on this sharp edge as you work under sink?
. 
Imagaince the joy of knocking them off with a hammer. Ahhhh, comfort.

I should have busted this middle piece out.
|
|
| |

You can see the screws that are at an angle, put in before the top was on. I should have broken the top out and then gotten to the screws. It was easy-- a few hammer whacks broke it up.

One screw needed an ignition wrench setup.

I got wise and busted out the uprights.
|
|
| |

To take down the huge mirror, I have to remove the medicine cabinet. It will be replaced by two cabinet mirrors over the sinks.

It's on an exterior wall-- they hacked the cinder blocks to get the medicine cabinet to fit. Hacks.

I gently pry on the mirror.
|
|
| |

It came off the wall in one piece. I wore gloves, safety glasses, and a full face mask.

The pile for the scrapyard is getting bigger. That bottom monolith was next to the toilet.

It was well-made and only mounted the toilet paper roller. It gets re purposed in the studio.
|
|
| |

It's always a good time to clean up, especially before dragging that heavy mirror. A broom was the first tool by dad taught me to use.

It was too heavy to lift, so I flopped it down onto a quilt that I could slide around easily.

Some kind of spot-tar in old old wallpaper.
|
|
| |

The metal trim on the bottom fell off.
. 
I dragged the mirror into the bedroom, not sure if I will keep it or not.

I got out the diamond cut-off wheel to cut up the faux- stone top. I think is is cement.
|
|
| |

Safety glasses, earmuffs, and a respirator, with some water to try and keep the dust down.
A hammer broke the counter-top in half with one whack. The grinding a slot was a waste.

Breaking it into three sections was perfect, now staged in the garage for a dump run tomorrow.
|
|
| |

Progress is good, and I can tear out the cabinet and break it up to pieces.
. 
The cold water pipe is a little sketchy.

The vanity would not move on one side. This baseboard was keeping it from moving.
|
|
| |

Duh, the pipes constrain the vanity. I just busted out the back panel and pulled the frame out.
. 
A nitrile glove seals off the sewer line.

With the frame broken up, the thin paperboard back was all that remained.
|
|
| |

The vanity takes up very little space when broken into pieces.
. 
A box-cutter scored the back enough to rip it off the pipes.

The original painted drywall shines through.
|
|
| |

The sinks and panels fit in the back of my Buick. The pallets are what the new 96-inch vanity came on.

The countertop had integral sinks, nice.

The passenger seat gets a bag full of Styrofoam from the new vanity.
|
|
| |

The wood strip had a factory edge and a cut edge. I marked it so I would use the right edge.
. 
The small pieces fit into the garbage.
. 
The new vanity cost 2600 bucks on an Overstock.com promo. It is staged in the master bedroom, ready to go. Search Milano 96-inch.
|
|
| |
CategoriesThe above posts arranged by date:
|  | ||||||
  |


