Big projects to simple ideas

Bead blast cabinet

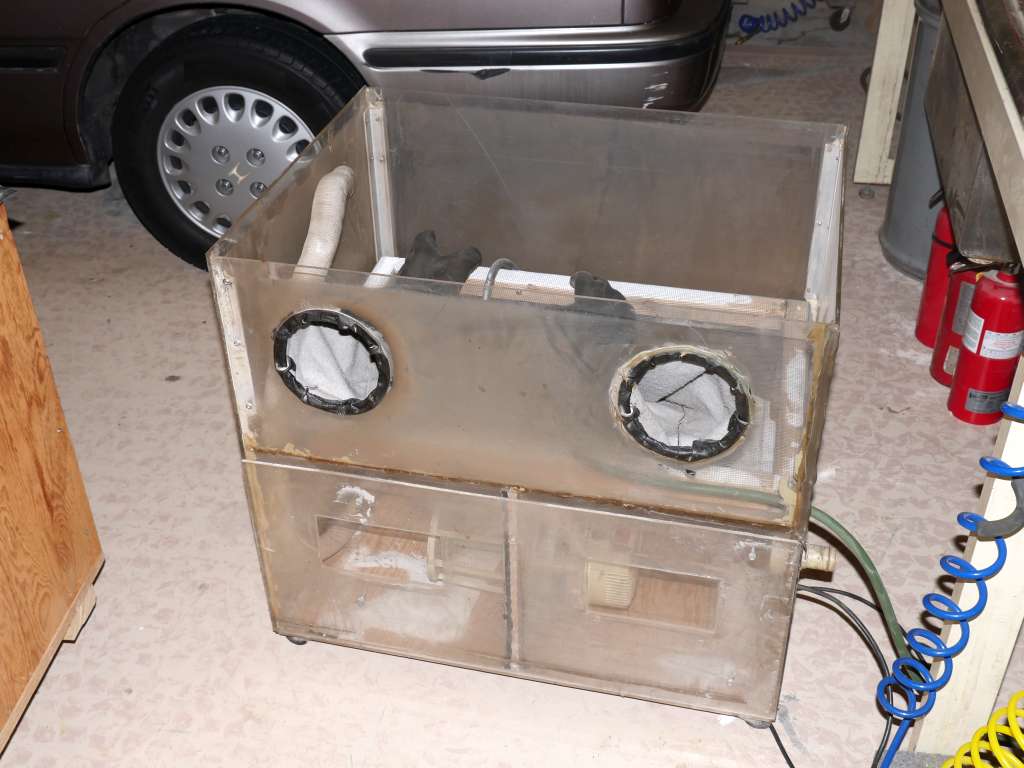
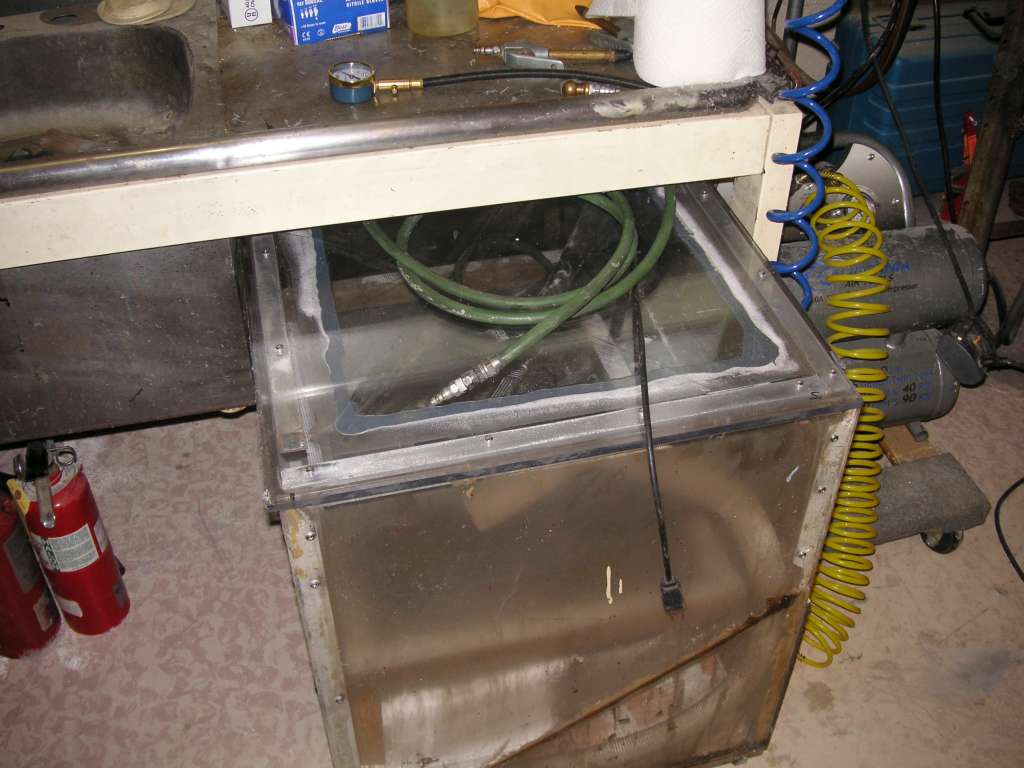
A home-made bead blasting cabinet slides under the wash bench. pdf version
1988-10-12_Bead-blaster_01.jpg
Bead blasting is a great way to clean parts. It leaves a satin finish that paint can stick to. When you blast Harley cases they look like new. I wanted a bead-blast cabinet but didn't have the room for a big stand-up model. The bench-top models were too small for some of the things I wanted to blast. I have a large sink in the garage, and a blast cabinet would slip right under it if the cabinet was the perfect size. Easy, I just designed and built my own bead blast cabinet. It fits perfectly. 1988-10-12_Bead-blaster_02Built in 1988, made the cabinet out of clear plastic so room light could get in and I could see what I was doing. The nozzle and gloves I bought at Summit Air in San Jose. A small shop vac in the bottom evacuates the blaster. The beads sit in a sloped area and feed into the gun siphon. I put aluminum angles in the corners.
Bottom of first columnmove down to the left

1988-10-12_Bead-blaster_03
The cabinet top lifts off to add beads and put the parts inside. Three is a deck built with screen-door screen so the beads drain down. The square holes are for clean-outs.
1988-10-12_Bead-blaster_04
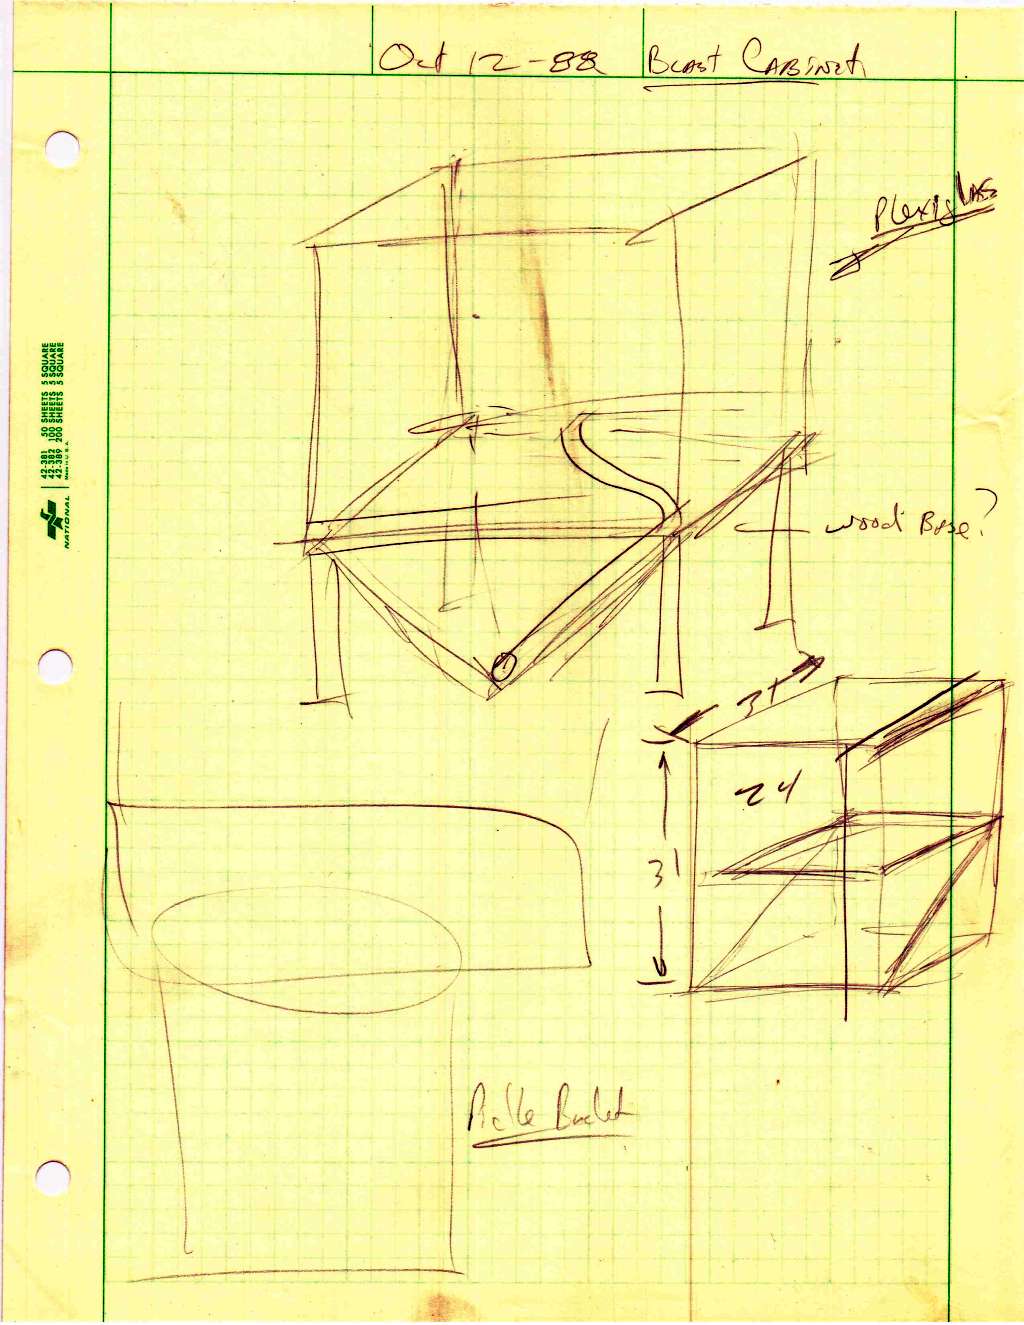
The design started on a couple of sketches. I had the dimensions from under the sink as a limit. Some of it I just winged as I put it together. I learned that plastic gets frosted so the top where you look has a glass pane too.
move up a little to the right move down to the left
1988-10-12_Bead-blaster_05
Sto mount the gloves I cut the center out of two one-gallon can lids. They press into holes.
1988-10-12_Bead-blaster_06
This end has the air in, vent out, and electric.
1988-10-12_Bead-blaster_07
Ready for use with the top on. I had to increase the top plastic to 3/8 inch. It would flex under vacuum and break the glass glued on underside.
move up a little to the right move down to the left
1988-10-12_Bead-blaster_08
You can see the shop vac in the bottom chamber. I also put a big shop vac on the vent outlet. This keep the beads from going all over.
1988-10-12_Bead-blaster_09
So since 1988 the top was a little too big.
1988-10-12_Bead-blaster_10
So I cut the top on each side a little narrower so that the thing rolls under the sink easily.
move up a little to the right move down to the left
1988-10-12_Bead-blaster_11 1988-10-12_Bead-blaster_12
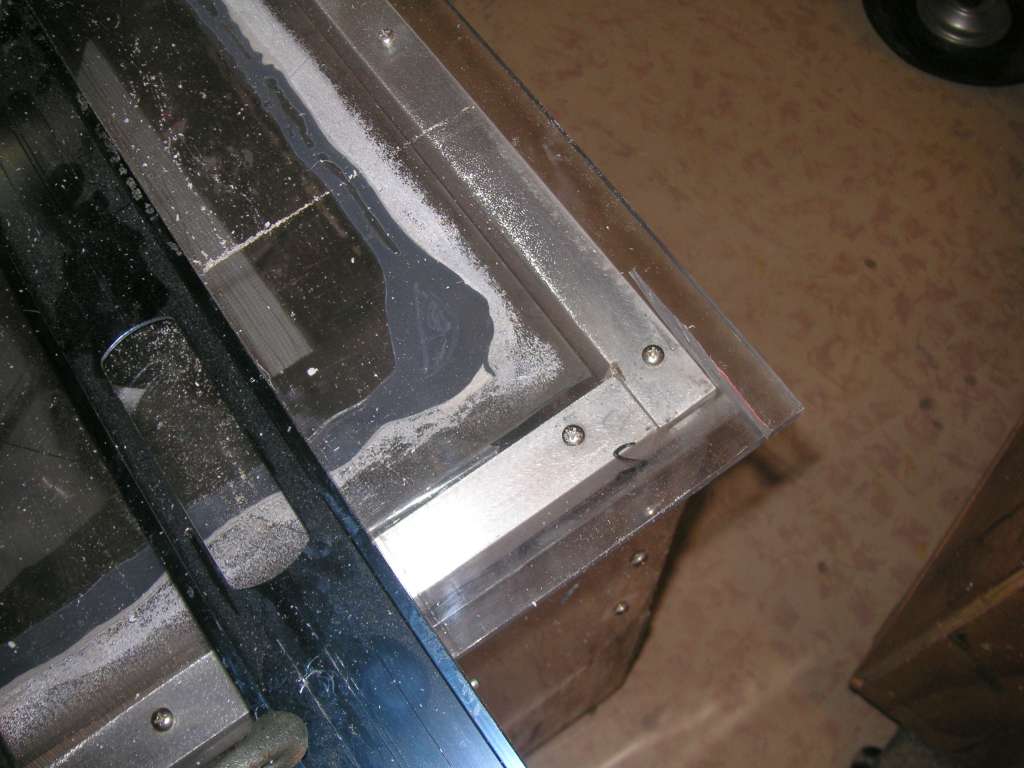
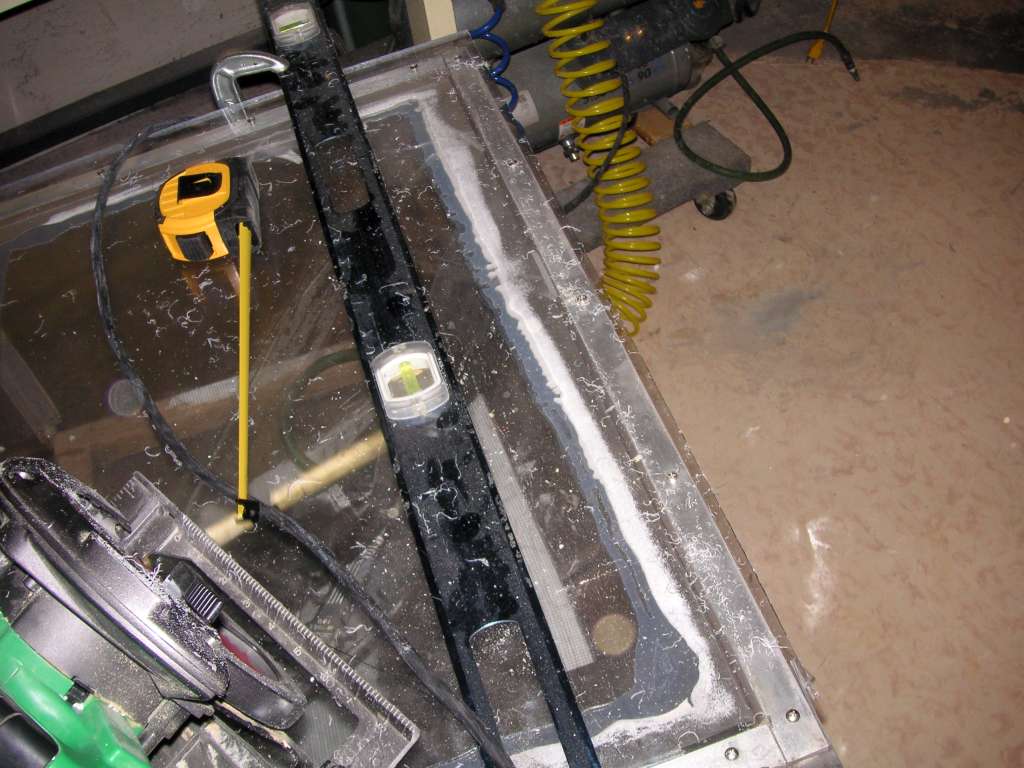
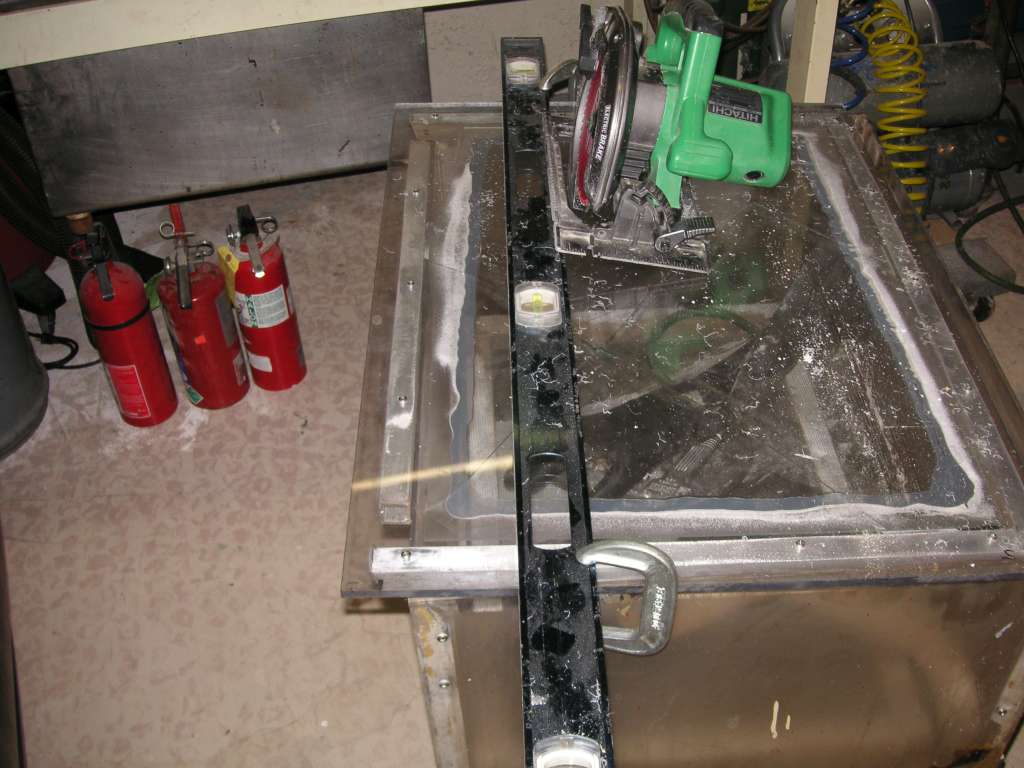
Sure enough, I started the cut and it was too close to the frame. Measure twice cut once, you would think I would have learned that by now. I went and got a ruler and actually measured the offset. It was a little tough to run the saw since there are screw heads holding the bracket on that I was too lazy to remove.
1988-10-12_Bead-blaster_13 1988-10-12_Bead-blaster_14
Another nice thing about measureing the cut is that the same measurement applies to the other side. I hated clamping on a level, but I tried to be gentle and not dent it.

It was a quick-and-dirty fix. I love this cabinet and intent to rebuild it. Actually, more like just build a new one. I would still use construction adhesive, but I would make the the venting system a little better. It does need an extra shop vac on the outside.

Maybe a more powerful vac underneath so it does not need an external one. There would have to be some easy filter setup, the beads go everywhere. There has to be negative pressure in the cabinet even with the gun blasting away.

I also need to make the sink frame shallower, and that might make the cabinet stick out. Its all related, but first things first, I will cut up the sink.
move up a little to the right move down to the left


This post is in these categories:


border bar
Bottom of first column This is the end.